Search for answers or browse our knowledge base.
-
- Articles coming soon
Creating an Event
0 out Of 5 Stars
| 5 Stars | 0% | |
| 4 Stars | 0% | |
| 3 Stars | 0% | |
| 2 Stars | 0% | |
| 1 Stars | 0% |
Creating Events
You can create a new event by opening the WordPress admin panel and navigating to Bookings -> Events Manager -> New Event.
Once the New Event page has loaded, fill out the details of the event.
Event Name
This is the name of the event – it is displayed on admin pages, on booking popups in the site front end, in any emails sent to people who book the event, etc. It should be short, simple, and convey the purpose of your event.
Event status
If the front end status is Active, people will be able to see and book the event from the front end of your site, otherwise the event will not appear.
Short Description
If an event is included in a category, when the category is displayed on the website front end, each event will display it’s name and it’s short description. This should be a quick couple of lines about the event.
Long Description
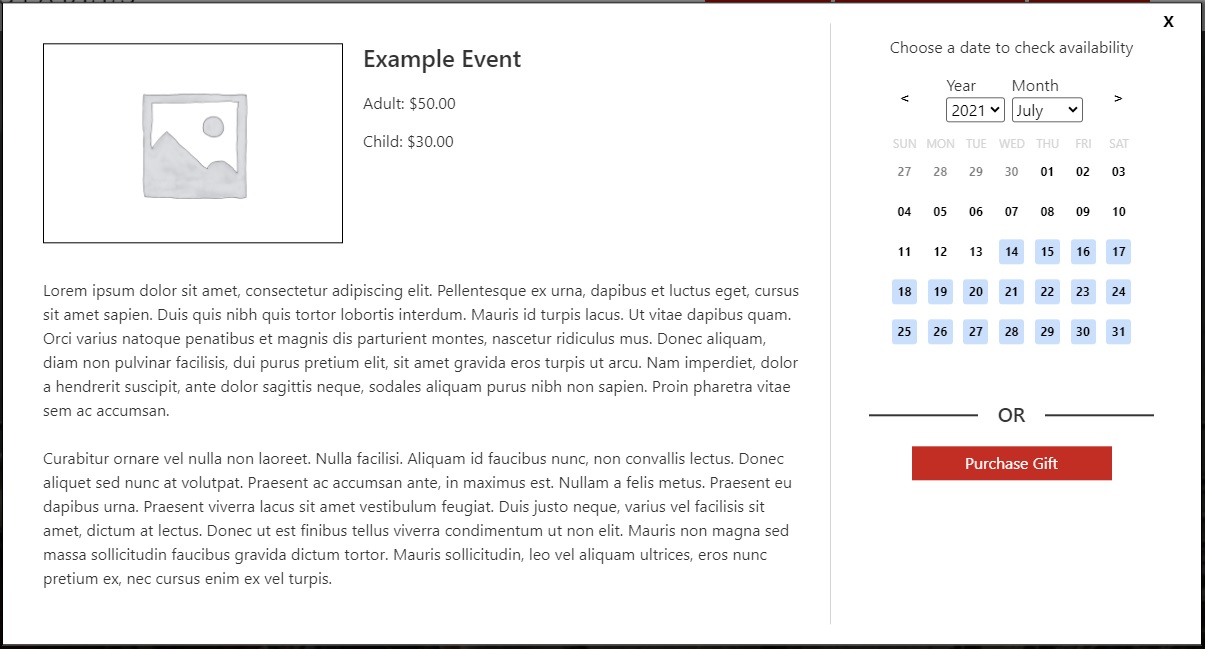
When a single event is selected on the website front end, the long description will be displayed. This should include details about the event, as well as any requirements or restrictions which might apply to the event (For example, any age restrictions, if there is any equipment customers need to supply, and any other special instructions).
Images
You can add as many images as you want here. The first image added will be the “Featured” image – this will be the image which appears when the even is shown in a category, and it will be the large image shown on the single event page. It is highly recommended to add at least one image here. Other images will be shown on the single event page, as thumbnails under the main image.
Terminology
If you need to set up multiple sets of terminology for different events, then you can choose which set of terminology is used by this particular event here. the default value is “Default Terminology” – in which case the terminology set up on the Business Information page will be used.
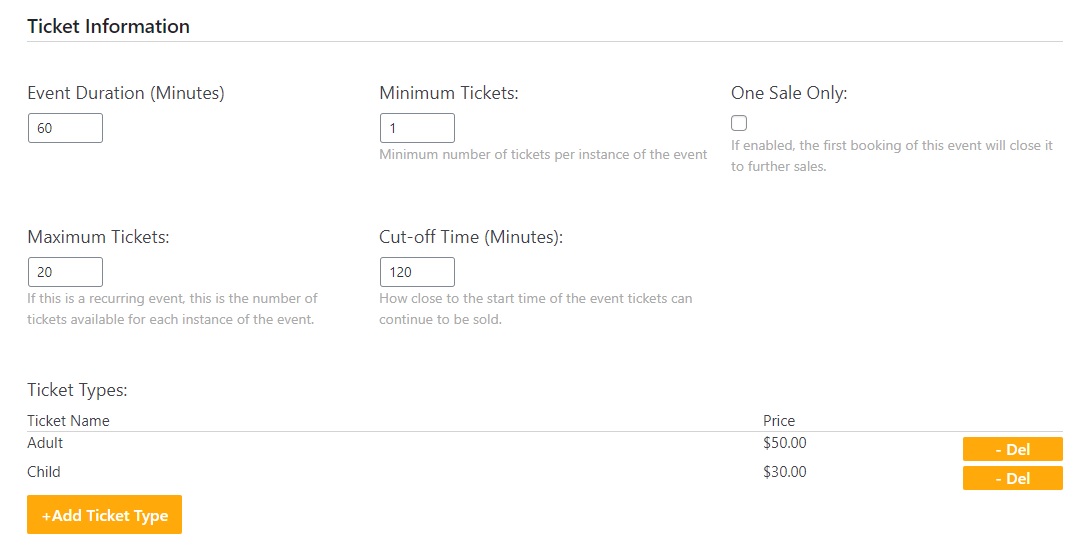
Event Duration
The amount of time your event will last, in minutes. This is used in conjunction with the scheduling information to set up your calendar, it is also displayed to customers – the value does not need to be precise, but if it is an estimated length this should be noted in the event description.
Ticket Information
 The next few fields allow you to set up the number and type of tickets for your event. You can have as many types of ticket as you need. The other fields will allow you to set limits on how many tickets can be sold, etc.
Minimum Tickets
The minimum number of tickets which must be sold for this event. For recurring events, this setting applies to each instance of the event. This only applies to the first purchase for the event – Once one person has purchased the minimum number of tickets, future customers may purchase as few as they wish, as the minimum is per-event, not per-purchase.
One Sale Only
This setting will close the event to all further sales once a single purchase has been made, meaning that only a single person (or group of people, depending on the minimum and maximum ticket rules) can book each instance of your event.
Maximum Tickets
The total number of tickets available for each instance of this event. This applies across all ticket types – selling 5 adult and 3 child tickets will simply be counted as 8 tickets for purposes of this setting.
Cut-off Time
The number of minutes before the start of an instance of your event when tickets can no longer be sold. If this is set to 60, for example, and an event starts at 3pm, then tickets will stop being sold on the website front-end at 2pm. Bookings made through the admin panel can ignore this.
Ticket Types
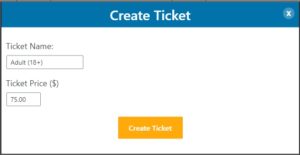
 You can define as many or as few types of ticket to sell for your event, the most common situation is to sell Adult and Child tickets, but this can be used to create whatever ticket classifications are needed. To add a ticket, Click the “New Ticket” button, and enter the name and price for the ticket. If you make a mistake, the newly added tickets can be removed.
Schedule
The schedule is how you set up an event as a one-time event, or as a recurring event.
You can choose to use a schedule you have already created (a schedule can be shared across as many events as needed), or you can click the “New” button to create a new one for this event. Please see the page on Creating a Schedule for full details on how to create a new schedule.
Calendar Color
Set the color that this event will have when it appears on any of the Calendar views.
0 out Of 5 Stars
| 5 Stars | 0% | |
| 4 Stars | 0% | |
| 3 Stars | 0% | |
| 2 Stars | 0% | |
| 1 Stars | 0% |


